
那何時才使用 UIAlertView? 應該是有某些訊息無論如何也要用戶去知道,不是那些無關緊要的事,有可能是你的應用程式發生一些問題,令操作不能繼續的訊息。例如你的應用程式必須依賴網路來拿取資料,但用戶的裝置根本沒有連接網路,這時候你便需要使用 UIAlertView 去提示用戶去連接網路,不然應用程式不能運作。
首先是最簡單,只顯示訊息並只有一個 “OK” 按鈕的 Message Box:
UIAlertView *alert = [[UIAlertView alloc] initWithTitle:@"Title" message:@"Message 1......\nMessage 2......" delegate:nil cancelButtonTitle:@"OK" otherButtonTitles:nil];

[alert show];
[alert release];
樣子:
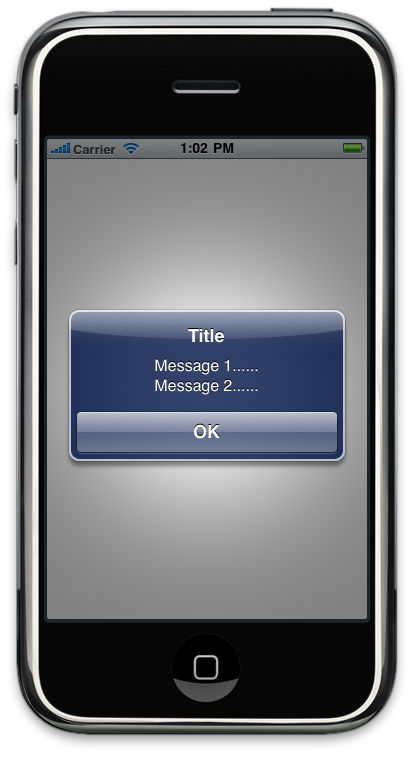
因為按下 “OK” 按鈕後不需要任何動作,所以也不用設置代理 (delegate)。
cancelButtonTitle 是 UIAlertView 預設的按鈕,是必須設備的,但按鈕顯示的文字則可以任意更改。
而 otherButtonTitles 則可以用來增加按鈕,每加入一個 NSString 就會多一個按鈕。好像以下這樣:
UIAlertView *alert = [[UIAlertView alloc] initWithTitle:@"Title" message:@"Message 1......\nMessage 2......" delegate:nil cancelButtonTitle:@"OK" otherButtonTitles:@"Button 1", @"Button 2", @"Button 3", nil];
這樣便會增加多三個按鈕,加上 Cancel Button 一共有 4 個按鈕。
樣子:

如果想按下按鈕後有其他動作,你需要在相對應的 Class 加上 UIAlertViewDelegate 的 protocol。
例如我想 UIViewController 當 UIAlertView 的代理:
ViewController.h
#import <UIKit/UIKit.h>

@interface ViewController : UIViewController <UIAlertViewDelegate> {

}

@end
在 ViewController.m 加上以下方法:
- (void) alertView:(UIAlertView *)alertView clickedButtonAtIndex:(NSInteger)buttonIndex{
    //Code.....
}
而 UIAlertView 的 CancelButton 的 buttonIndex 是 0,其他按鈕的 buttonIndex 則順序增加。
可以這樣判斷用戶究竟按下了那一個按鈕:
- (void)loadView {

    UIAlertView *alert = [[UIAlertView alloc] initWithTitle:@"Title" message:@"Message 1......\nMessage 2......" delegate:self cancelButtonTitle:@"OK" otherButtonTitles:@"Button 1", @"Button 2", @"Button 3", nil];

    [alert show];
    [alert release];

}

- (void) alertView:(UIAlertView *)alertView clickedButtonAtIndex:(NSInteger)buttonIndex{

    switch (buttonIndex) {
        case 0:
            NSLog(@"Cancel Button Pressed");
            break;
        case 1:
            NSLog(@"Button 1 Pressed");
            break;
        case 2:
            NSLog(@"Button 2 Pressed");
            break;
        case 3:
            NSLog(@"Button 3 Pressed");
            break;
        default:
            break;
    }

}
從 Objective-C 轉到 Swift 可看看這篇: From Objective-C to Learning Swift
相關書籍:


